My husband and I live in an older home (like 45 years old), which use to be his grandmother's. Back when it was built in the 50's it was built with the best materials of it's time. The house had the most modern features and upgrades and the great decade could offer like: pocket doors, push button switches, 3 socket plugs, birch wood paneling, open floor plan, etc. The house is in great shape for being the age that it is, but she definitely needs a little face lift and touch of some modern flare.
We started a few years ago to pull up the carpet in the living room & the main hallway. The carpet was at least 30 years old and needed to be taken up. Recently Mike read an article in a magazine (I think Men's Health) about all the bacteria and germs that live in your carpet. He was so disgusted by it the next day when I came home from work the carpet was ripped up in our bedroom. For a few weeks our bedroom floor was a slab of concrete. (BTW carpet is so disgusting when you pull it up. All the dirt & stains that you are unable to vacuum & clean are under there and it is just NASTY....gives me chills just thinking about it. GROSS! Ugh!)
Renovating is sooooo expensive. Luckily my husband enjoys doing a lot of projects himself that help us save money and I have to say they turn out great! He has a great gift when it comes to carpentry and design. Anyways on to the DIY story.... It all started because one of my good friend's was replacing their wood laminates with real hardwoods and offered to give her laminates to us and some that were new in the box for FREE. Could NOT pass that up! Great deal and so gracious of my friend and her husband. Then we decided if we are redoing the floors then we should paint our bedroom to a more tranquil & relaxing color. Thus, our 3 week project began!
During the 3 weeks we temporarily had our bed in our living room with out any frames. My husband said he got a better night sleep with out the frame so he decided he was going to build our own custom made bed! I was thinking....he is nuts! He doesn't know how to do that! Well I was more than pleasantly surprised. He built the most beautiful bed I have ever seen. I was soooo proud! It is sooo awesome! It is solid pine that he stained a dark brown. The bed is really high up so our dogs can not jump and sleep with us anymore (it really sucked before because all 3 slept on my side...yes, 260lbs worth of dog on me). We even made our own upholstery headboard (almost done just need to add more buttons). We bought the fabric, foam & made our own buttons. It looks great!!


Now for the awesome AFTER !!!!!!!!!!!


All in all I am extremely pleased with our new room. It is my favorite room and I hate leaving it. It is so cozy and I can't wait to update the rest of the house or have a new home with the similar look of our new master.
We started a few years ago to pull up the carpet in the living room & the main hallway. The carpet was at least 30 years old and needed to be taken up. Recently Mike read an article in a magazine (I think Men's Health) about all the bacteria and germs that live in your carpet. He was so disgusted by it the next day when I came home from work the carpet was ripped up in our bedroom. For a few weeks our bedroom floor was a slab of concrete. (BTW carpet is so disgusting when you pull it up. All the dirt & stains that you are unable to vacuum & clean are under there and it is just NASTY....gives me chills just thinking about it. GROSS! Ugh!)
Renovating is sooooo expensive. Luckily my husband enjoys doing a lot of projects himself that help us save money and I have to say they turn out great! He has a great gift when it comes to carpentry and design. Anyways on to the DIY story.... It all started because one of my good friend's was replacing their wood laminates with real hardwoods and offered to give her laminates to us and some that were new in the box for FREE. Could NOT pass that up! Great deal and so gracious of my friend and her husband. Then we decided if we are redoing the floors then we should paint our bedroom to a more tranquil & relaxing color. Thus, our 3 week project began!
During the 3 weeks we temporarily had our bed in our living room with out any frames. My husband said he got a better night sleep with out the frame so he decided he was going to build our own custom made bed! I was thinking....he is nuts! He doesn't know how to do that! Well I was more than pleasantly surprised. He built the most beautiful bed I have ever seen. I was soooo proud! It is sooo awesome! It is solid pine that he stained a dark brown. The bed is really high up so our dogs can not jump and sleep with us anymore (it really sucked before because all 3 slept on my side...yes, 260lbs worth of dog on me). We even made our own upholstery headboard (almost done just need to add more buttons). We bought the fabric, foam & made our own buttons. It looks great!!
Here are before and after pictures of our DIY Master Bedroom renovation.
Before.....

Mike starting to paint the walls after stripping wallpaper, texturing & priming the walls.
Bentley, Maverick, & Lucy really wanted to help out. ha!

Left side of the wall.
Now for the awesome AFTER !!!!!!!!!!!

Ta da!!! When I came home one day from work Mike had completely decorated and set up our room! I was speechless! Mike even framed and mounted the pictures from our wedding himself!

Floral decorations were given us to our friend
who gave us the floors too!!

Facing the doorway. Mike installed a new fan too!
More up to date from what we had before.

Don't those floors look awesome!! So much better than carpet!

My dresser! I love this antique dresser (use to be my dad's).
It fits in really well with our room. LOVE!

My side of the bed.

Mike's side of the bed.
(Sorry for such a grainy pic, I had turned off the flash...bad idea)

Mike's dresser he had refinished. It was original painted black with no hardware or legs. Mike stripped, stained, made his own legs & added hardware. It looks awesome!!

Our curtains...I am not a huge fan because of the color, but we are still working on it. At least we have something!
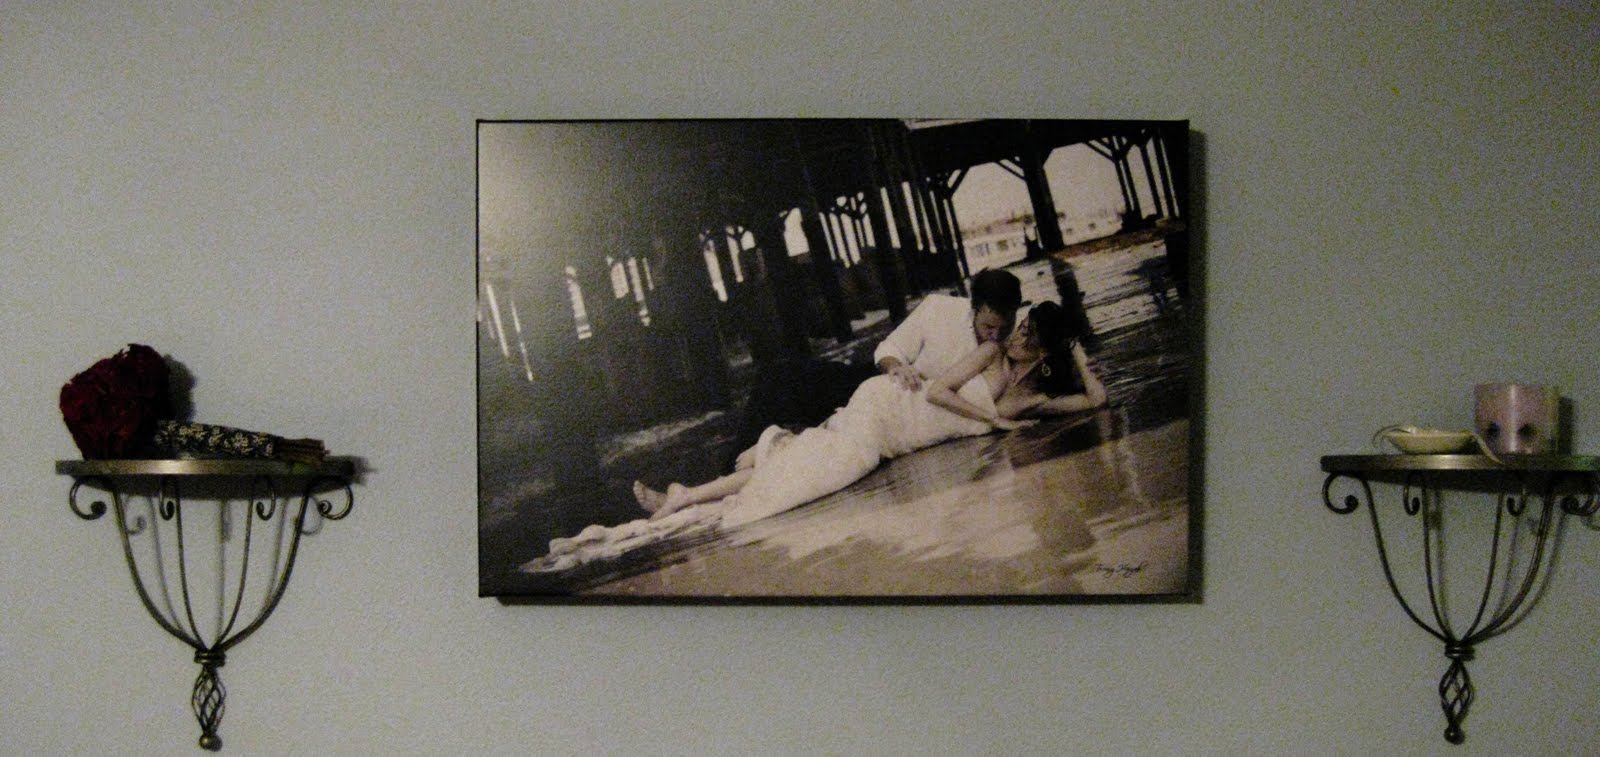
I know this was seen in a previous picture,
but I had to really get a picture of this one by itself!
Trung gave us an amazing gallery wrap from our TTD session!
It looks incredible in person and MUCH bigger!!
All in all I am extremely pleased with our new room. It is my favorite room and I hate leaving it. It is so cozy and I can't wait to update the rest of the house or have a new home with the similar look of our new master.
This turned out awesome! Great job, your wall color looks similar to ours as well!
ReplyDeleteWow Liz & mike--I am SHOCKED!! It looks beyond awesome :) good job guys! Miss yall!!
ReplyDeleteEverything turned out great! Love the pictures :)
ReplyDeletewhat an amazing job you and your hubby did!
ReplyDeleteThank you everyone!! It was a definitely a labor of love! Maybe we will be posting more DIY home projects in the next 6 months. ;-)
ReplyDeleteE-I love this color. So modern and chic
Kristen-Miss you too girl!!!
im super duper jealous. my room needs a makeover so bad! and please flame me for not having any wedding or TTD photos printed yet.
ReplyDeleteIt's beautiful!!!!! Love it!
ReplyDeleteBecca: Don't feel bad. Those were the first pictures we had printed. If we didn't do the room it would probably be another year!
ReplyDeleteWow your bedroom is incredible!!!
ReplyDelete