We started to work on the room slowly, but surely in September. We first had a garage sale to get everything out of the room. It was basically used as a storage room and it was packed from floor to ceiling. Luckily we were able to sell the majority of the items. Thank goodness!!
Second was tearing everything out of the room. This was the fun part! Pulled out all the carpet, everything out of the closet (shelving, poles, racks, etc.).


 We were blessed to have Mike's sister and our friend give us each a crib. We loved the look of my friend's crib that was originally white with some gray antiquing, but some of the crib slats were missing and I wasn't comfortable using a crib with missing slats. So we decided to use Mike's sister's crib it was a simple and sturdy design, but it was drop side crib. Mike was just about to be finished painting the crib when the story hit that drop side cribs were banned. With this news we had decide what we wanted to do. Buy a crib or figure out a way to make it a fixed crib. Since we orginally liked the other design we decided to combine both my friend's crib (using the side ends) and Mike's sister crib (using the slats) to create the crib that we wanted. Mike also created from scratch four sides that look like as if they were part of the crib. My husband is soooo talented!! By far this is my favorite piece. It turned out incredible!!!


The Garage Sale!!
 |

The dogs even wanted to help out! ;-)

Third Mike worked on some great solid pieces of furniture (dresser, tv armoire & crib) to refinish. This took a while since it was sooooo time consuming. We wanted black with some antiquing. Mike of course added his awesome creativity to it all with some stencil work and lining the interiors with some awesome mod podge work. It was worth every minute. He did an INCREDIBLE job! The pieces look soooo awesome!
My Dresser Growing Up Before.....
Inside the dresser we Mod Podge this wrapping paper,
we bought at Michaels, as the lining turned out awesome!
we bought at Michaels, as the lining turned out awesome!


Final Product...UH-MAAZING


Mike's T.V Armoire Before.....


And After.......!
(Mike painted on the stencils and added some cool hardware from Hobby Lobby)
(Mike painted on the stencils and added some cool hardware from Hobby Lobby)

Inside Mike lined it with fabric (mod podge) and made shelves for storage. We plan on getting baskets to store books and such!


I don't have any before and after pictures, but I have pictures of the process. Just remember the 2 ends were white and antiqued with a black. The slats were a oak.


And After!! Pictures don't do it justice!!!

The bottom pieces were added on.
Mike created this sides out of scratch.
They look like they belong there!

Then the painting process began!
Here are the before pictures of the room.
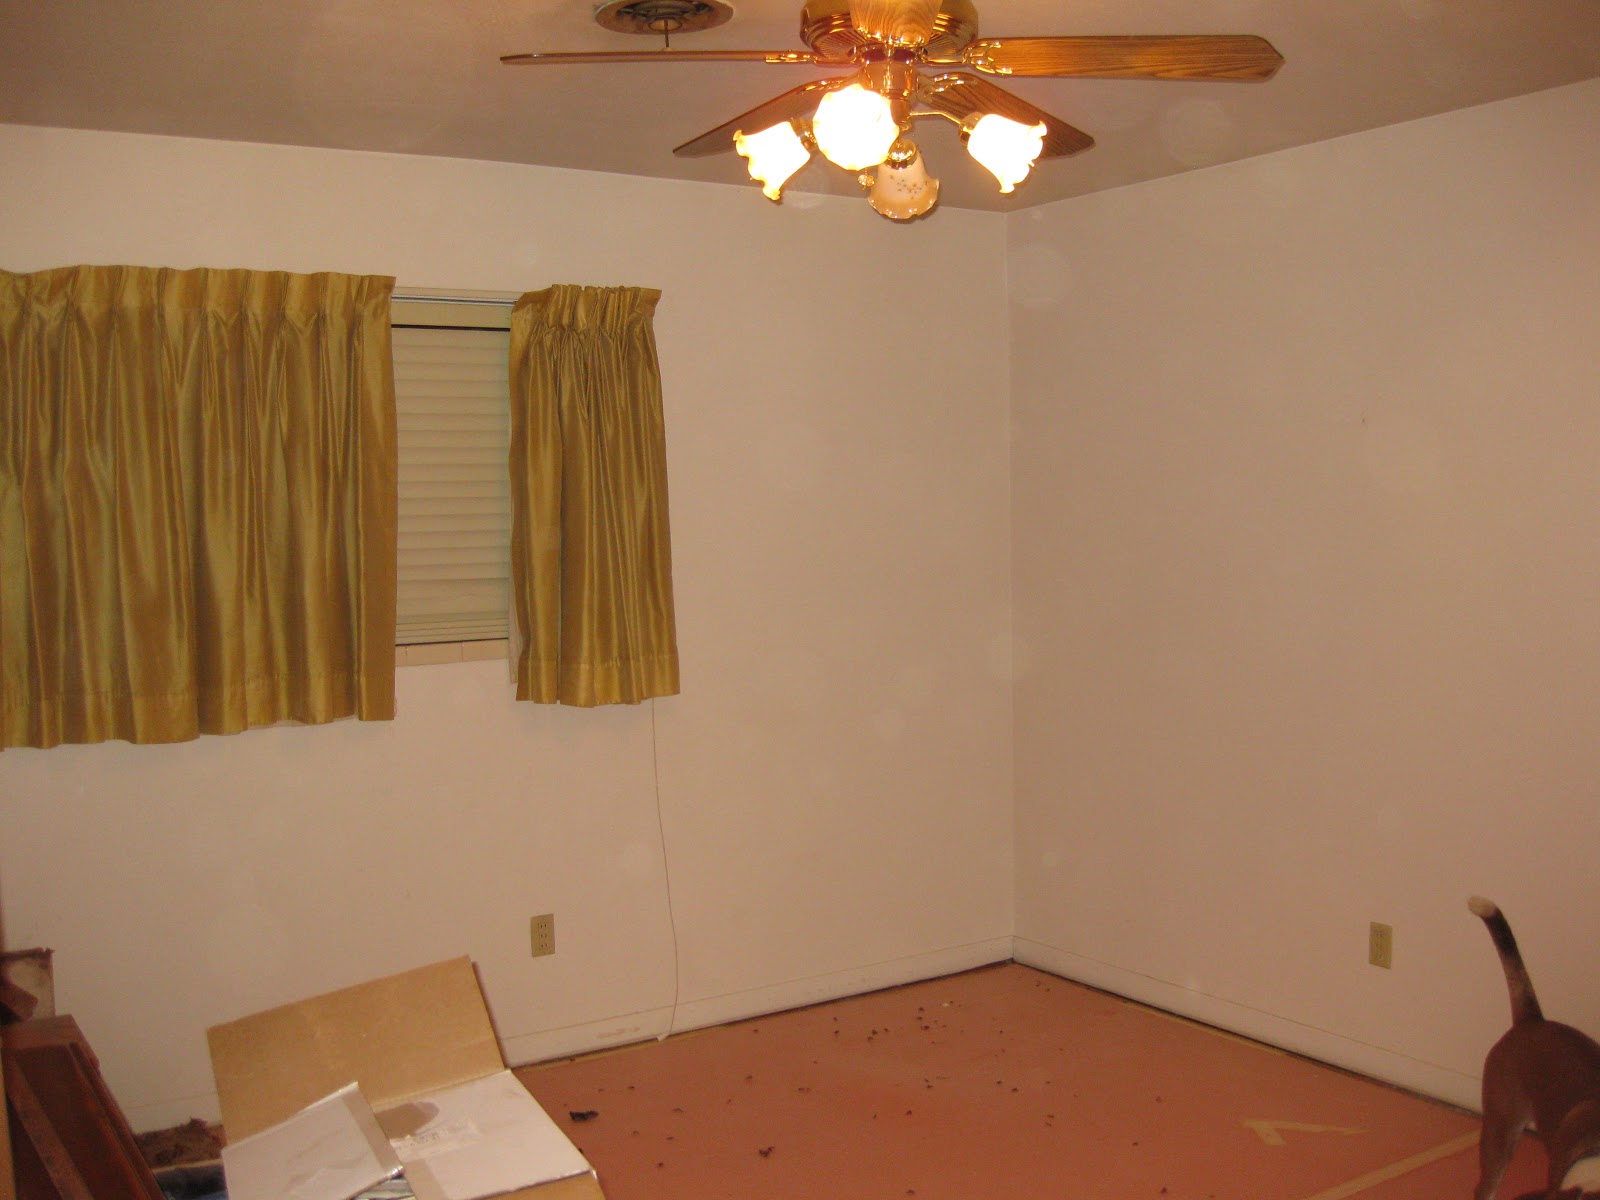

I wanted one darker gray wall and the rests of the walls a light gray. My original inspiration was this pic below.
We decided on gray for the walls It is just the perfect color for us. So chic and clean. We love the bead board and chair rail idea on the wall, but we decided to do it only up against our accent wall. I think eventually we will have them on all 4 walls. We decided against carpet. One carpet is just gross with all the stuff it collects in it and two we have 3 dogs that shed so carpet is not a fun thing when you have 3 dogs .
The room after Mike refinished the furniture right before he started to paint the walls.

Touching up some of the walls! He has the pose down!

Installing the floors. He did this in one night!!

Now for the long awaited after pics!!!
.
.
.
.
.
.
.
.
.
.
.

Presto....the room! One of our 3 dogs Maverick wanted to pose.
He loves this room!


The awesome closet that Mike built!

The awesome bedding made by my very talented mother in law. The decal is a custom decal made through www.dalidecals.com
(I highly recommend them....very affordable)


the best prices anywhere!

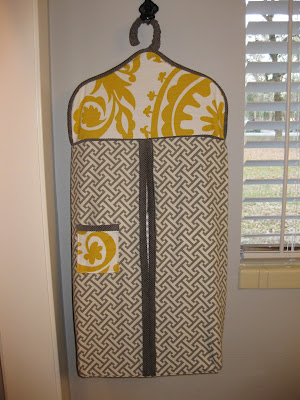
And the precious diaper hanger she made!!
A diaper hanger is a MUST!!!
There are only a few more things we need (baskets for closet, cornice window treatment, area rug) to do to complete Jett's cool room! I am super proud of this room and my hubby who made this happen. Besides our beautiful gem, Jett, this room is Mike's best work yet! He has created the vision I had as a perfect nursery into reality. Thank you....to my AWESOME AWESOME husband!! I love you!
i love love love this! uh-mazing is right! mike is awesome, your awesome, and jett is just uh-mazing! love you guys. .....so happy yalls dreams have come true!
ReplyDeleteLiz, this looks amazing. Your husband did such a great job. Can you tell me about your floors? I love the color!
ReplyDeleteAMAZING!!! Way to go Mike! What a fantastic room! Love all of it!
ReplyDeleteTraci....thank you. Jett has a pretty uh-mazing aunt!
ReplyDeleteHaydee: Thanks! The floors are actually laminate wood flooring. I believe they are a rose wood color. They were purchased at Home Depot. :-)
Ashley: I agree way to go Mike! Thanks!
Oh my goodness!!! What a gorgeous room! Love the furniture transformations, great job :D
ReplyDeleteFound you on The DIY Show Off!
Shelley
www.westermanfam.blogspot.com
Beautiful transformation! Don't you just love that he transformed the closet with a bench? It is what we love best about our son's room: http://www.prettyhandygirl.com
ReplyDeleteBrittany
this is a gorgeous nursery...and what a transfomation!
ReplyDeletevisiting from the DIY showoff.
You guys have been busy!
isn't it so fun to decorate a nursery?!!
I love this room! We are quite aways off from having kids but since I work with preschoolers and love decorating, my thoughts are never far from planning a nursery. Our current guest room in grey and yellow will most likely be the nursery some days so it's nice to see these inspirational pictures in similar colors (especially since we just painted every room in our house and don't want to do it again any time soon!) You did a great job, thanks for sharing!
ReplyDeleteSO cute! I love grey and yellow! as made evident by my blog AND bedroom! haha- he is one lucky boy with a nursery like this!
ReplyDeleteSo adorable! Can I ask where you got that little tricycle? It's precious!!!
ReplyDelete@Brittany...Wow your closet is AMAZING!! Going to have show the husband. Love the ledge you have for the books and such! I do love having the bench.
ReplyDelete@Dunne...it is actually a family tricycle. My grandfather had made it for my dad when he was a baby. So it is about 80 years old. Me, my sisters, nieces and nephews used it as we were all growing up and when my dad passed I thought it was the perfect thing to hand down to my children. It fits perfectly in his room! Can't wait for him to ride it so many great many memories behid that little trike.
Wonderful blog & good post.Its really helpful for me, awaiting for more new post. Keep Blogging!
ReplyDeleteCoolroom Shelving
Splendid transformation! The nursery looks wonderful, from the floor boards to the placing of the furniture, and you're right, it has a chic and clean appeal even though it's gray.
ReplyDeletethis room is just awesome.
ReplyDeleteThank you!! We are really proud of it! :-)
ReplyDelete